The Best Gluten + Dairy Free Brownies of Your Life
Look, I’ve been making this particular recipe, this particular way for over 5 years… and no one has EVER guessed these brownies are gluten or dairy free.
THESE. BROWNIES. ARE. INCREDIBLE.
I bring them to every single gathering and I always leave with zero. They aren’t too sweet, or too gooey or too dry. They’re perfect. My favorite brownies of all the brownies in the land.
The best part?
It’s a box mix and will take you about 5 mins to put together.
So why then, am I writing a whole blog post about a box mix?
Well, because the first 8574x I made them, they didn’t turn out. The taste was great, but they were either too gooey, too hard, or wouldn’t hold together.
I kept experimenting until I got everything JUST right and then I told everybody about it on social media.
Even still, I have friends who will try to make them and they say they never turn out right — but it’s almost ALWAYS because they didn’t follow these exact steps.
INGREDIENTS:
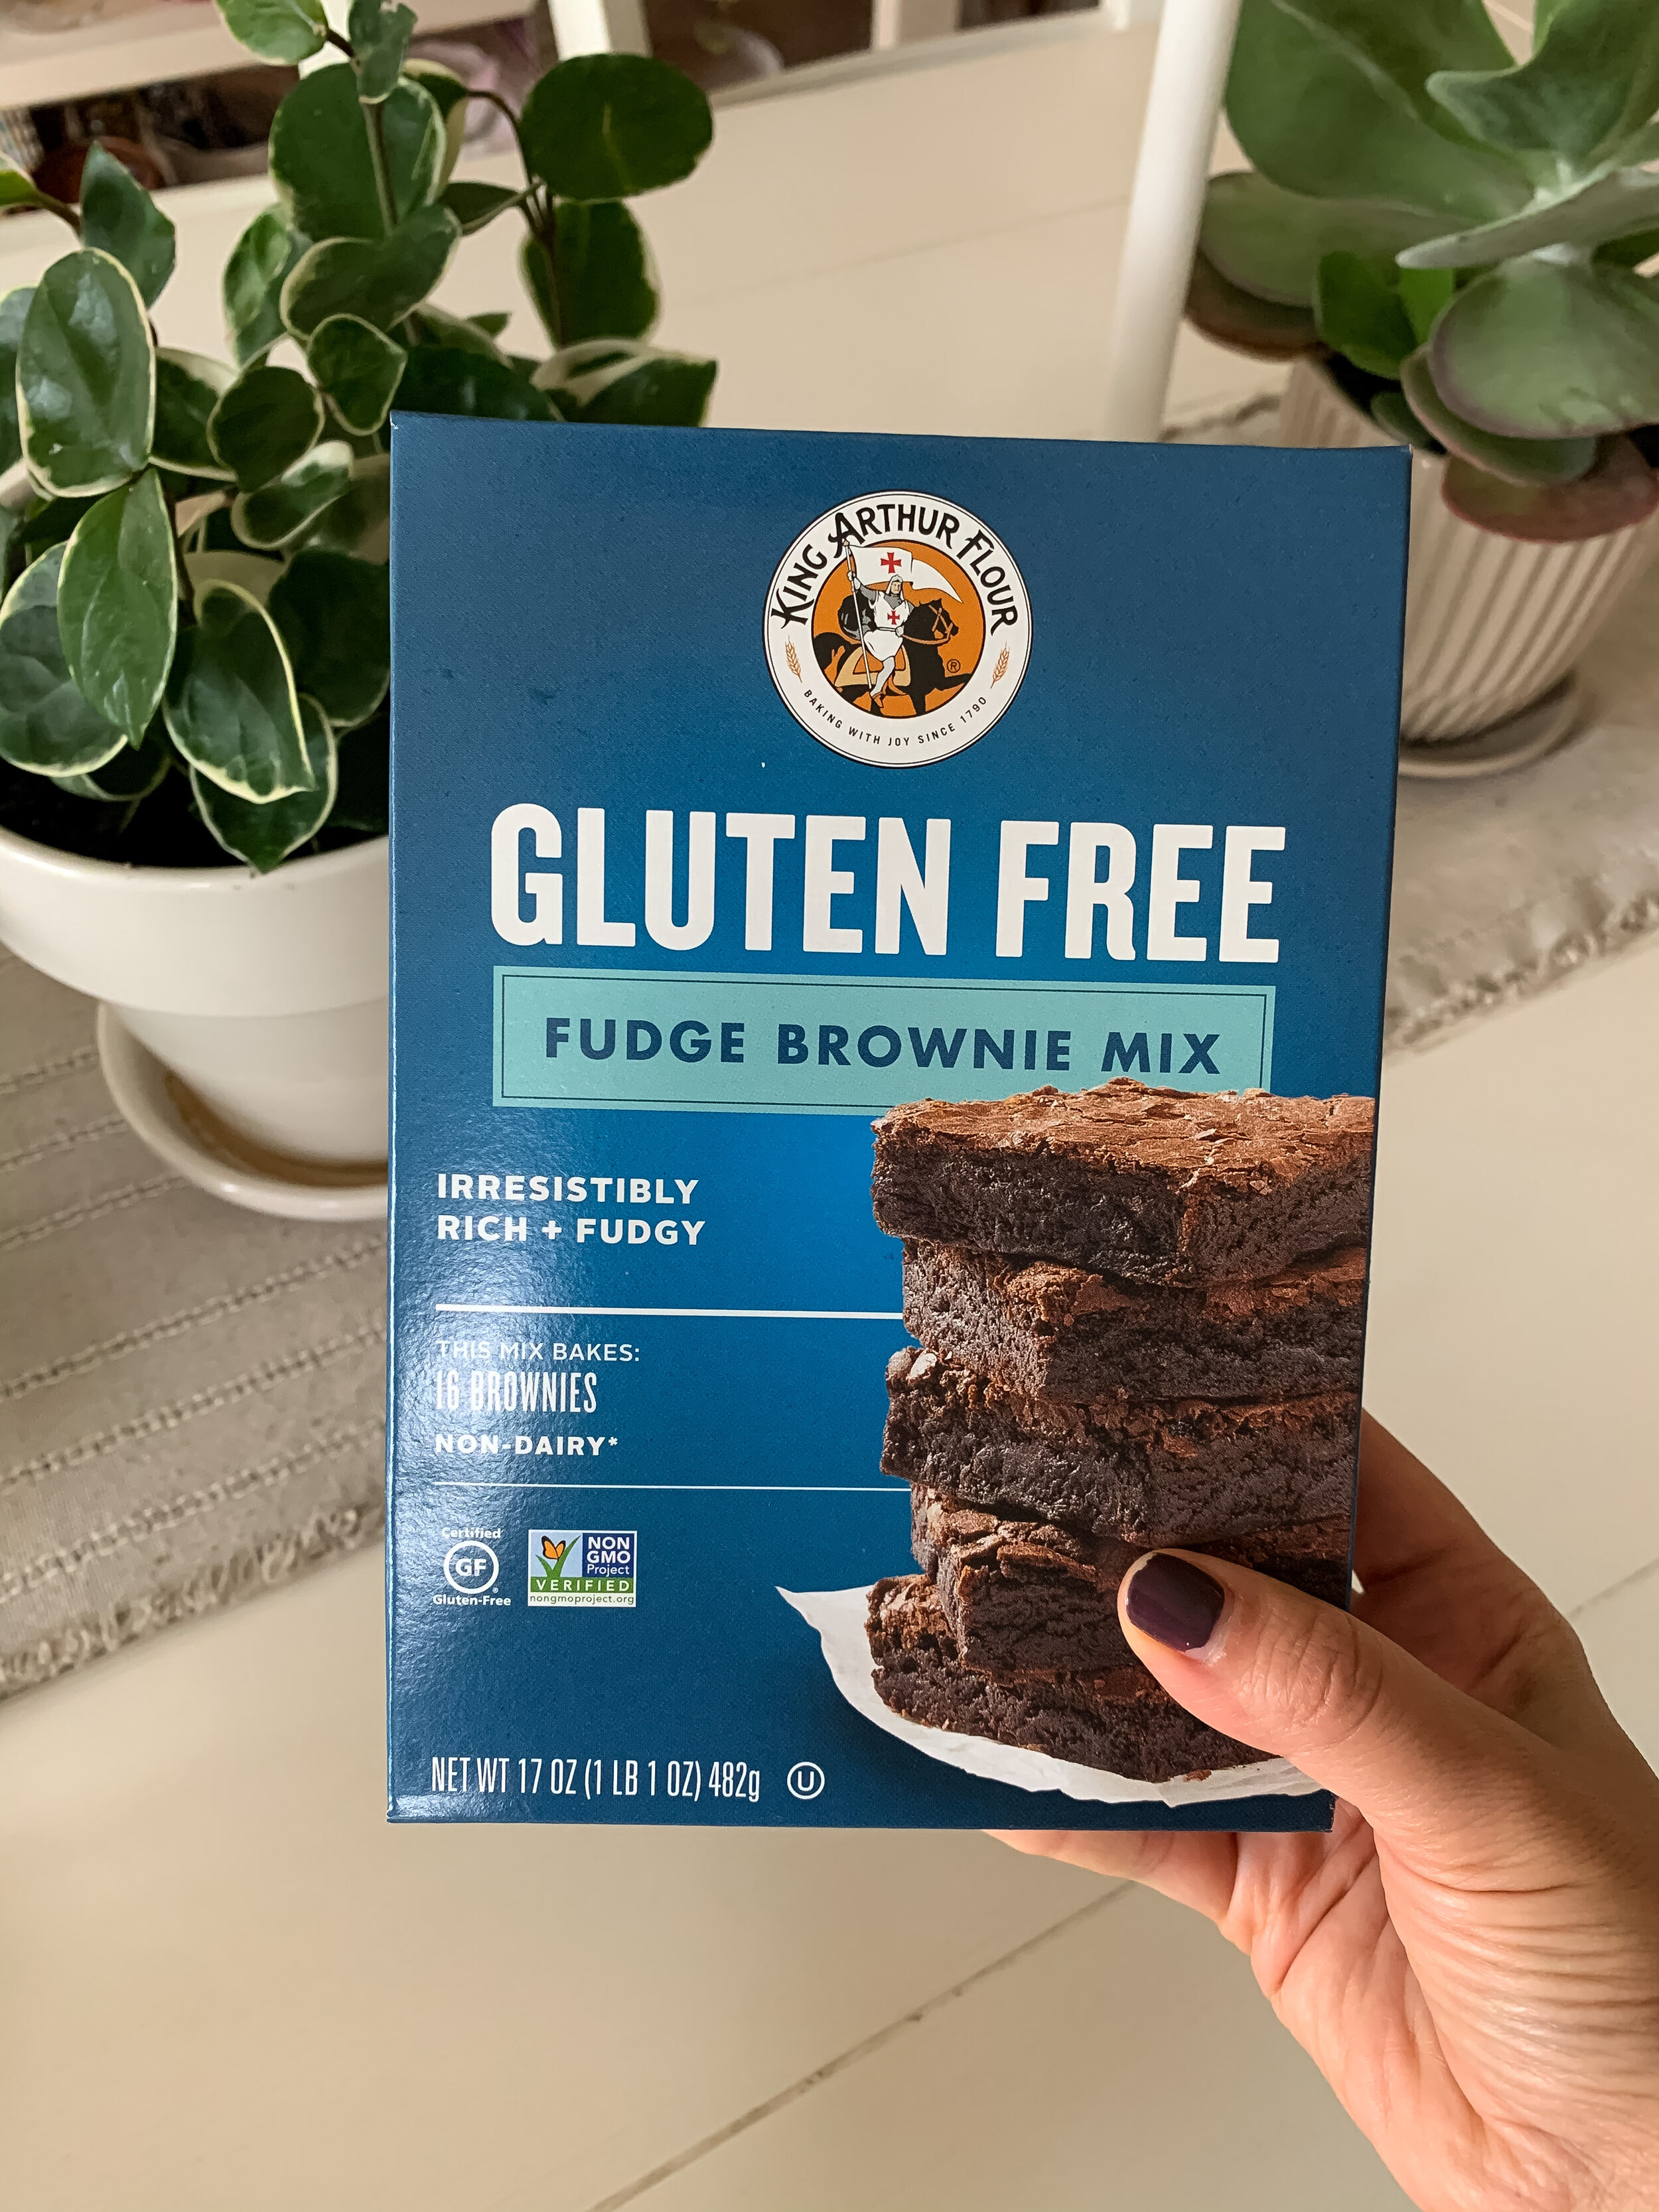
1 box King Arthur gluten free fudge brownie mix
3 large eggs
10 TB melted Earth Balance vegan butter NOTE: regular butter does not taste as good. Also, be careful when melting not to burn the butter or it’ll ruin the taste.
1 cup walnuts or mix ins
My personal recommendation is to use walnuts. They really make the brownies what they are and break up the sweetness / add texture. I bring them everywhere — I figure they’re already gluten and dairy free so you can deal with nuts. If you also need nut free, then you should have brought your own brownies, sister.

INSTRUCTIONS:
Preheat to 325
We are following the “cake like” instructions on the bottom of the box.
Whisk up the eggs
Melt the butter in the microwave and when it’s cooled, add to eggs
Once those are mixed, add in the brownie mix
Mix til free of lumps, then fold in nuts or mixers


The very important part:
How you bake them is extremely important to these turning out perfectly texture wise.
You need a cheap, thin metal pan. (I’ve used thicker nicer ones and NOPE)
Line with parchment paper.
Place on middle over rack and set timer for 45 mins.
Stick a knife in to check for doneness — then cook an additional 5 mins until done. THIS WILL BE DIFFERENT FOR EVERYONE — so please do not over cook. Mine takes 55 mins.
Cool in pan for about a half hour, then grab the parchment paper and remove the brownies from pan and place on counter. I do this to avoid bottom getting too wet from heat.
When TOTALLY cooled, then you can cut them. If you cut too early, they don’t hold together well especially if you’re using nuts.
I sprinkle on powdered sugar before cutting because that’s what my mom did and it makes the world a better place.


I HAVE A NEWSFLASH FOR YOU:
From this day forward, you’ll never love another brownie but this one.


